An illustration of espalier from a late 17th c. Dutch gardening manual, New York Public Library.
I often think the more I learn about gardening, the less I know. As my circle of knowledge expands, so does the circumference of ignorance around it. Apologies to Einstein for the misquote.
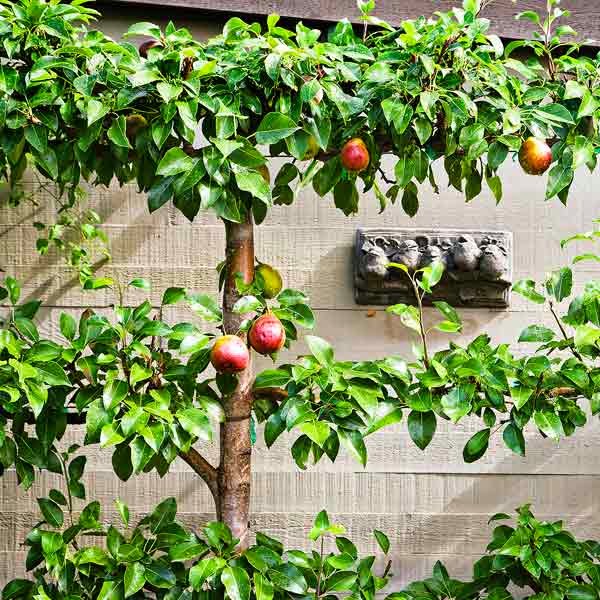
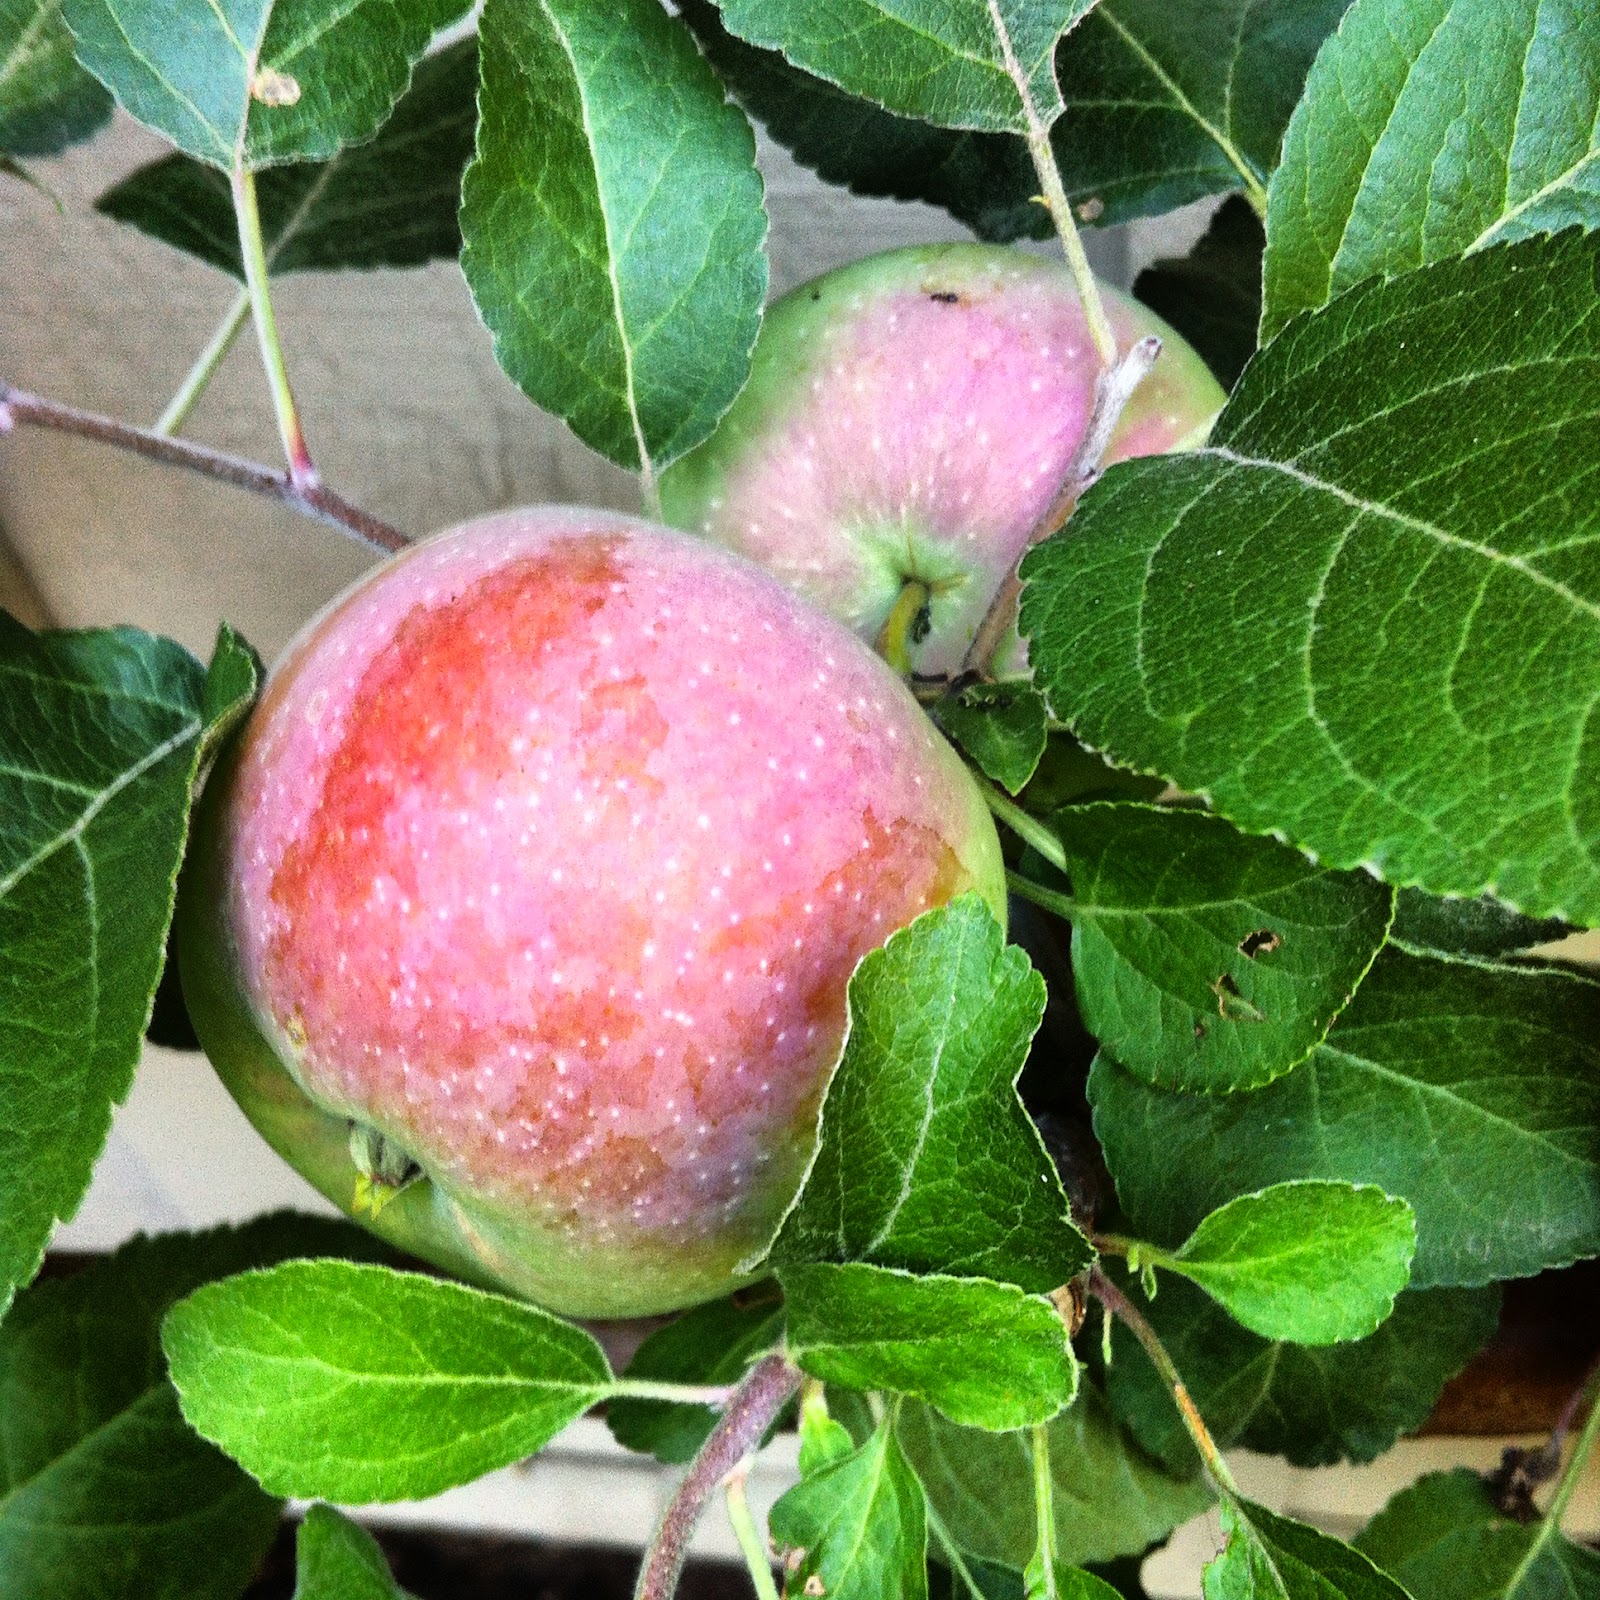
I feel this keenly now as I write, having just discovered that at least one of my espaliered apple trees appears to be afflicted with fire blight, a bacterial disease that is often fatal, & most likely came from the nursery, as I have just acquired the trees.
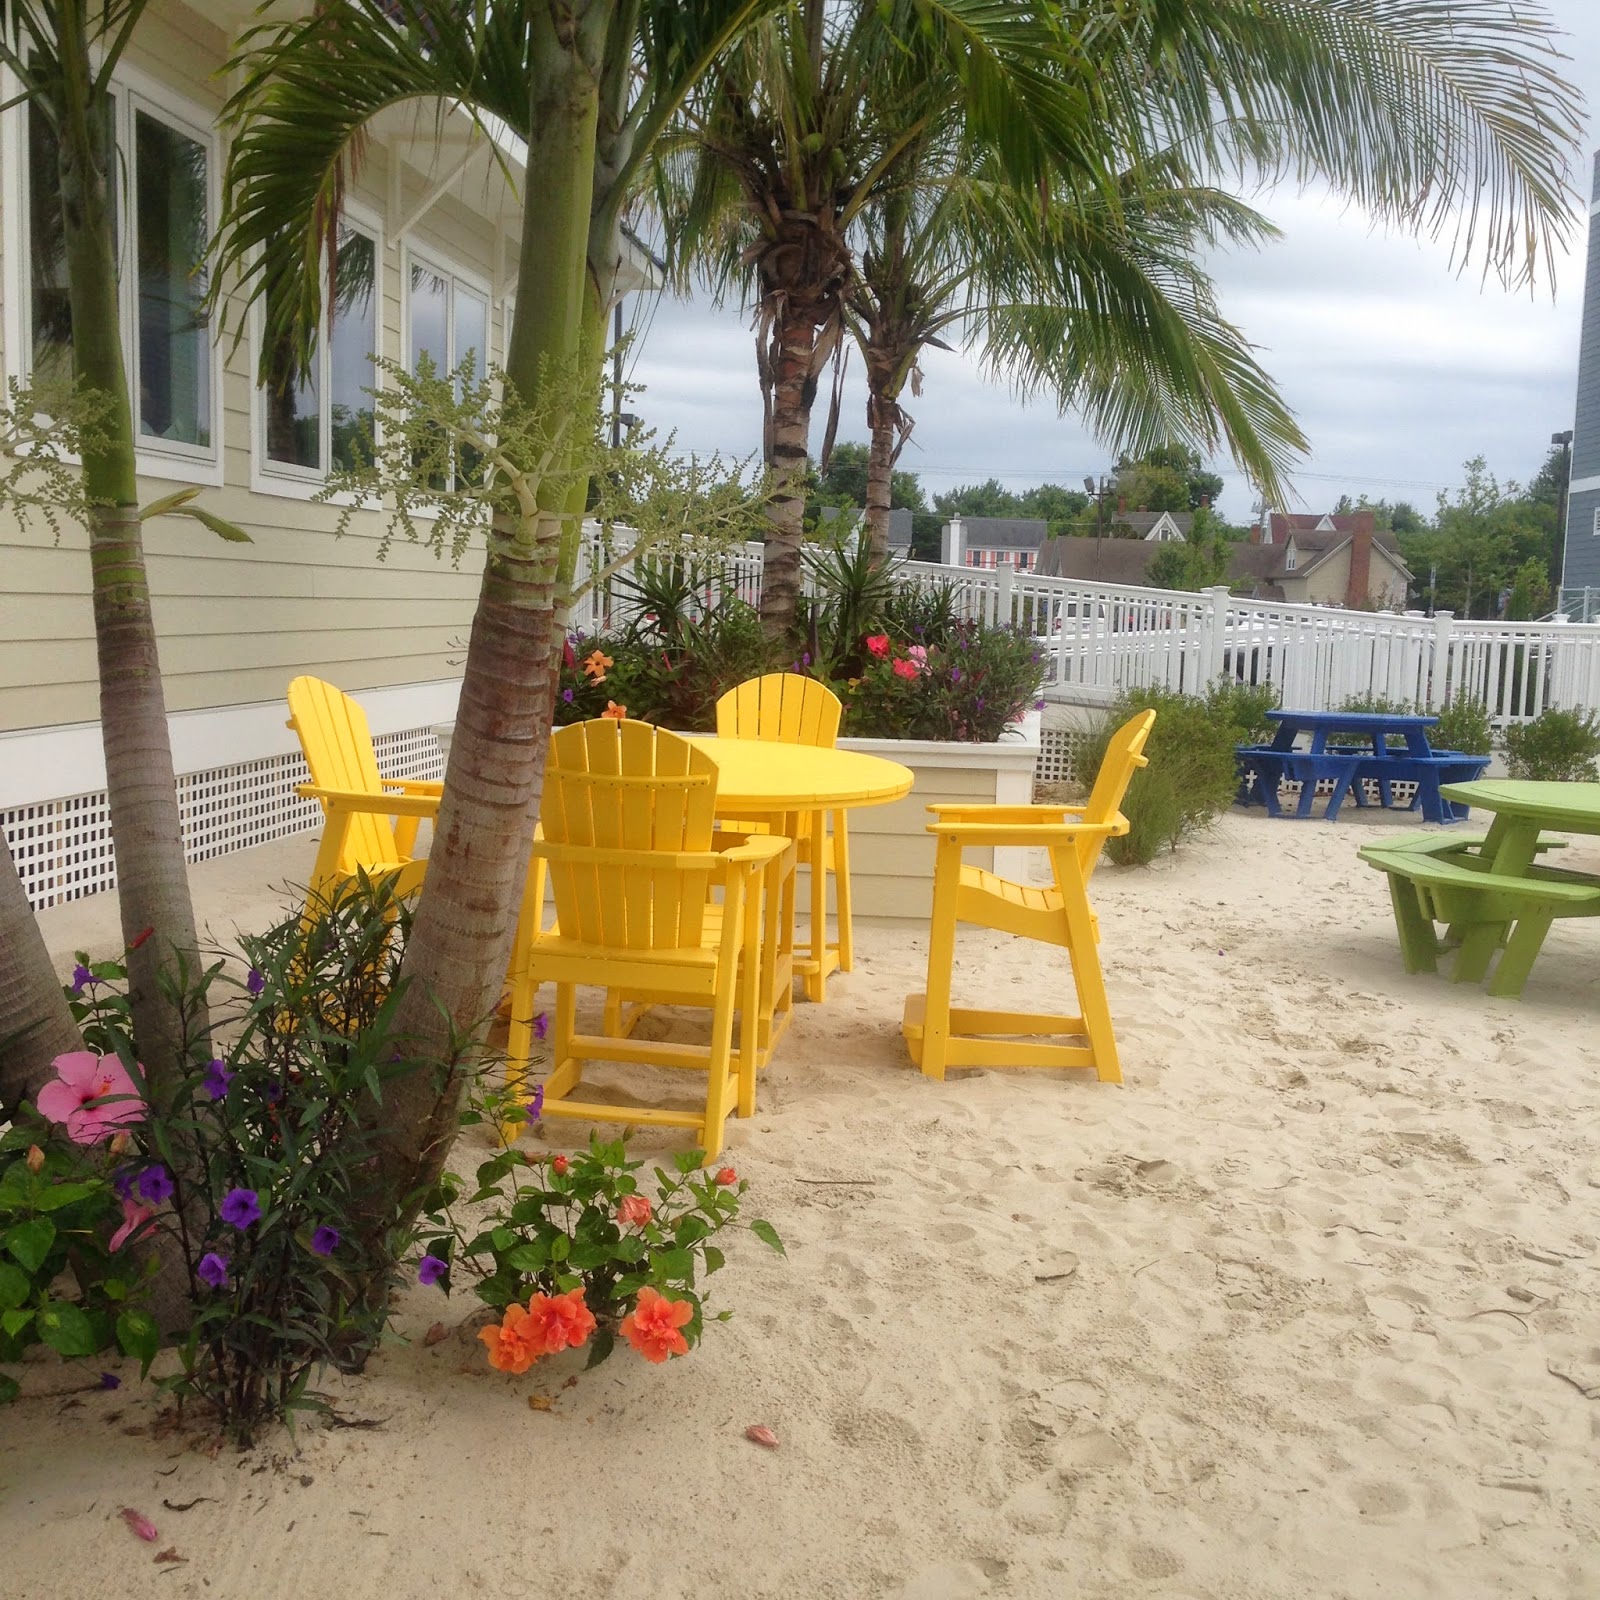
The espaliered apple trees of which I speak are part of the finishing touches I've been putting to the patio project that I began writing about last spring. Talented garden designer, Debra Phillips of the blog
5th & State, has been so kind to guide me through this long process with her expert design advice, her tremendous knowledge of plants, by ever-patiently answering questions, & by advising me around the scrapes into which my impetuous choices have occasionally landed me. It was she who quickly diagnosed the dreaded fire blight for me this afternoon. If you're not a regular reader of her blog, do yourself a favor & pop over there.
Now, enough about my espalier woes. I promised to provide resources to help get you started espaliering.
In
Espalier, Part 1, we took a brief look at the what this beautiful horticultural art is . If you're not familiar with espaliered trees & haven't read Part 1, you may want to read that first. It's
here.While the aesthetic side of espalier is obvious, understanding the science which
causes an espaliered tree to produce fruit so abundantly & earlier in the tree's development is beyond the scope of this article, but if, like me, you won't be satisfied until you know the
why as well as the
how, I have provided links at the bottom of this article to references that will satisfy your every horticultural-geeky need.
When I first starting learning about espaliered fruit trees, I was looking for space-saving ways to grow a productive garden in a tiny backyard. Looking so unique & very European I considered a bonus. I approached the subject with all the enthusiasm of an amateur gardener and with all the naivete of one, too! My first attempts at espalier ended in disappointment on the trash heap and showed me quite clearly that this was no hobby for the impatient or impetuous.
Establishing an espaliered tree begins from the ground up and can take from several to many years. An understanding of how the tree grows & where to make pruning cuts is crucial. There is, fortunately, a wealth of information available on this subject, and one who is interested in learning the art can, with time & plenty of patience, establish an espaliered tree. In the rest of this article, I will highlight the necessary steps and direct you to resources for further reading into each one.
If you haven't been recently bequeathed an estate complete with an espaliered orchard & you'd rather not wait & labor through the process of espaliering, some nurseries sell ready-espaliered trees. You may even find several varieties grafted onto one tree-- a technique that handles pollination & variety in an extra space-saving way. In my own small backyard, I've purchased and planted four espaliered apple trees from a local nursery that form two of the outside "walls" of my patio area.
To grow an espaliered tree from the ground up, here's where to start:
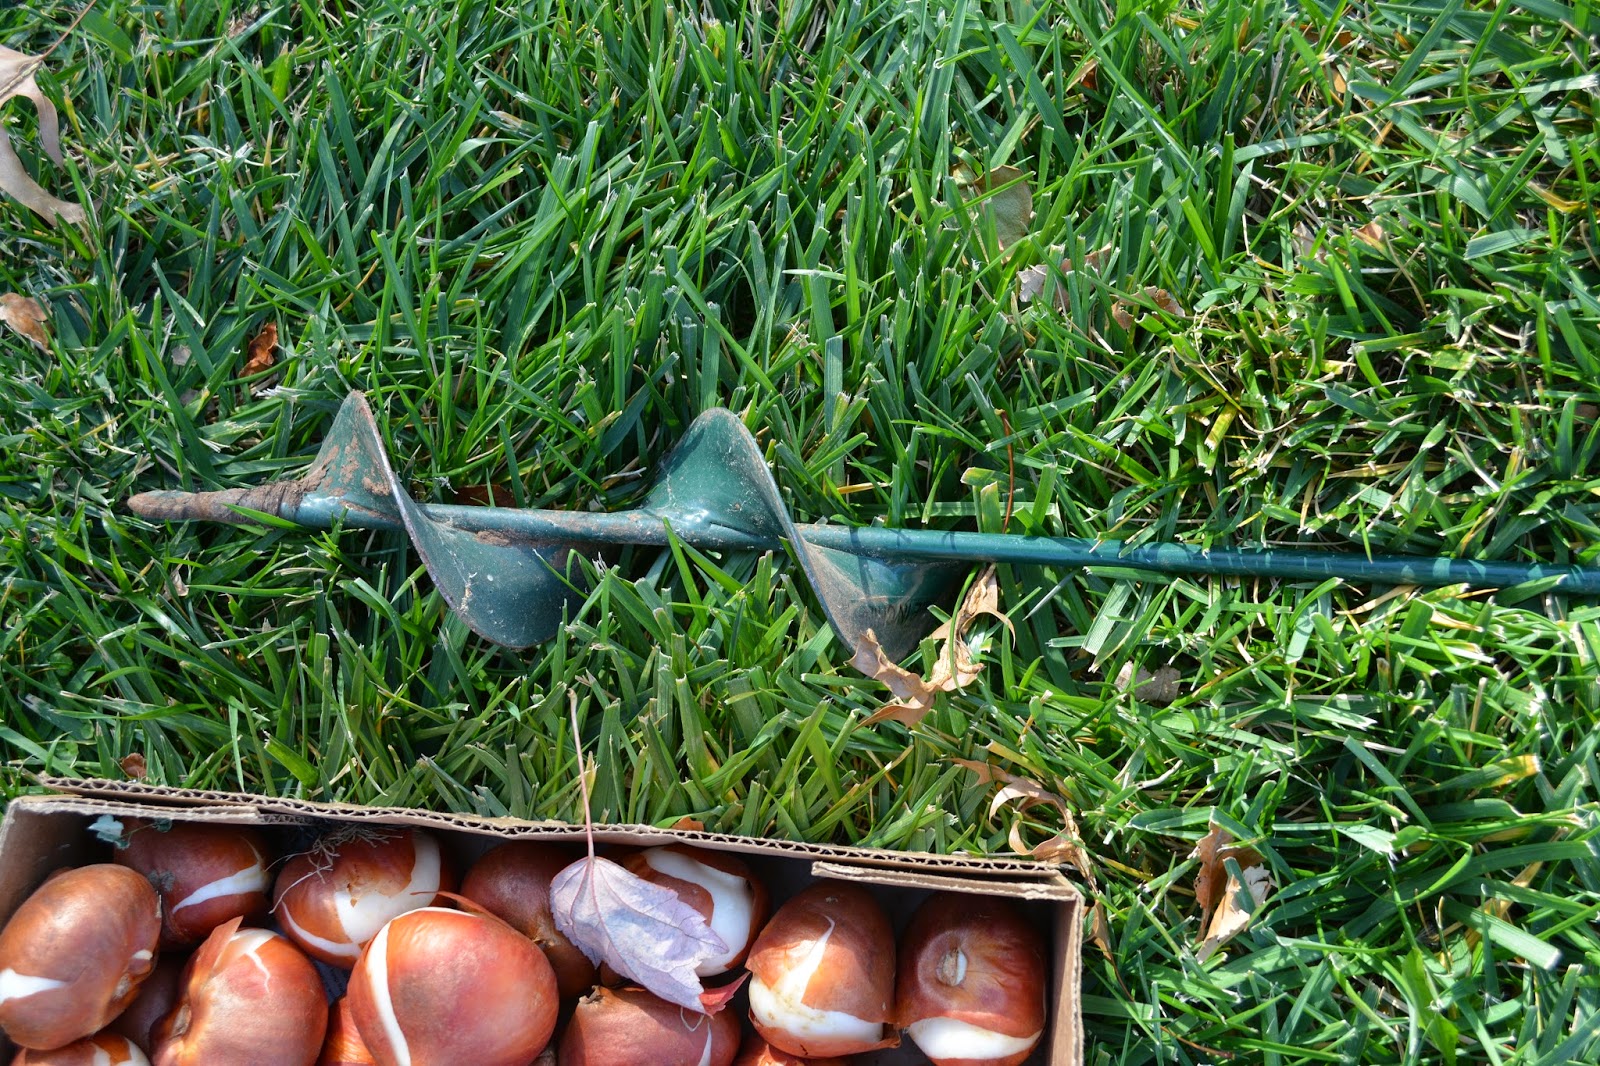
Rootstock The establishment of an espaliered tree begins with choosing a tree that is grown on
dwarfing rootstock. For now, I will focus primarily on apples although I reference alternatives for warm climate gardeners, below. There's a numbering scheme (that does
not follow an expected, sequential order) for apple tree rootstocks.
Here & Here are succinct guides to understanding apple tree rootstock codes with descriptions of their various advantages & disadvantages, and
Here for pears.
Taking a cue from my cautionary tale, above, choose a variety that also has good disease resistance.
Spur Bearing vs. Tip BearingApples & pears bear fruit either near the main branches on fruiting spurs or at the ends (tips) of the branches. For espalier, it's important to choose a tree that is spur-bearing. In some cases the same type of apple tree is available in both tip & spur bearing varieties. A short article,
HERE, explains that further. Some spur bearing varieties recommended for espaliering by
vegetablegardener.com are 'Red Rome', 'Stayman', 'Red Delicious', & 'Golden Delicious'. If you're unsure whether your favorite variety is spur or tip bearing, the grower should be able to tell you. In some cases, the name of the apple variety will give you a clue to its growth habit. For example, Stark Bros. labels their spur-bearing varieties with the brand name "Stark-spur".
Chill HoursChill hours are the cumulative number of hours that the temperature is between 32-45 degrees Fahrenheit in fall & winter. Many fruiting & flowering trees, including apples & pears, require a certain number of "chill hours" to reach dormancy & set flowers & fruit the following growing season. The required number of chill hours varies widely by variety. 'Red Delicious', for example, requires 800 chilling hours whereas 'Fuji' only requires 100-400 chilling hours.
HERE, is a chill map of the U.S. developed by the University of Maryland to help you determine the number of chill hours for your area. If you buy your trees from a local nursery, they have most likely done the work of determining which trees will grow best in your area, but being over-prepared is never a bad idea.
Low Chill OptionsFor areas with few chill hours, apple varieties with low-chill requirements are available. Because I've been asked specifically about Florida,
HERE is a map showing greater detail of chill hours for that state.
Tangerine tree espaliered into an informal shape surrounded by hen and chicks at its base. Design by Scott Shrader. Photo: Mark Adams
If you live in an area that doesn't receive enough chill hours to grow apples or pears, you might consider growing espaliered citrus-- orange, kumquat, lemon or lime-- or a fig tree. Some of these you may be able to find already espaliered at a local nursery, and certainly you can find young trees, not espaliered, available for sale.
PollinationSome apple trees are sold as "self-pollinating", but I'm told for effective pollination & consistent fruiting, a second variety is necessary.
Here is a handy checker for pollination compatibility-- select your tree from the list, and a list of effective pollinators pops up.
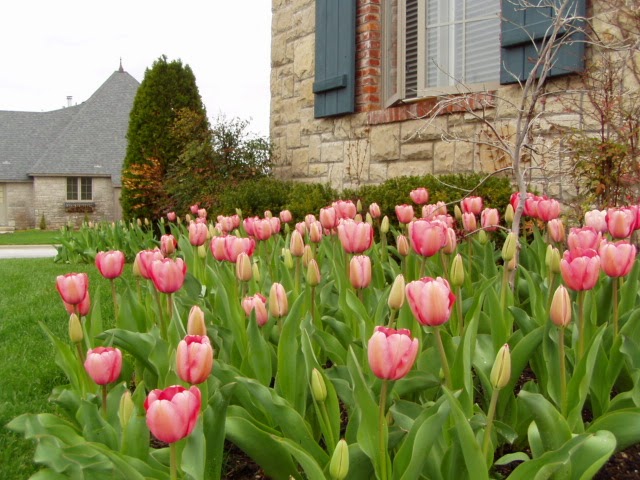
Choose the SiteApple & pear trees grow best in full sun. Walls & fences make nice backdrops for espaliered trees, and the warmth from a wall can help protect the tree from late spring frosts, but free-standing espaliered trees are also very attractive. Be sure there's enough room for the tree to spread out on each side, about 5 feet in each direction.
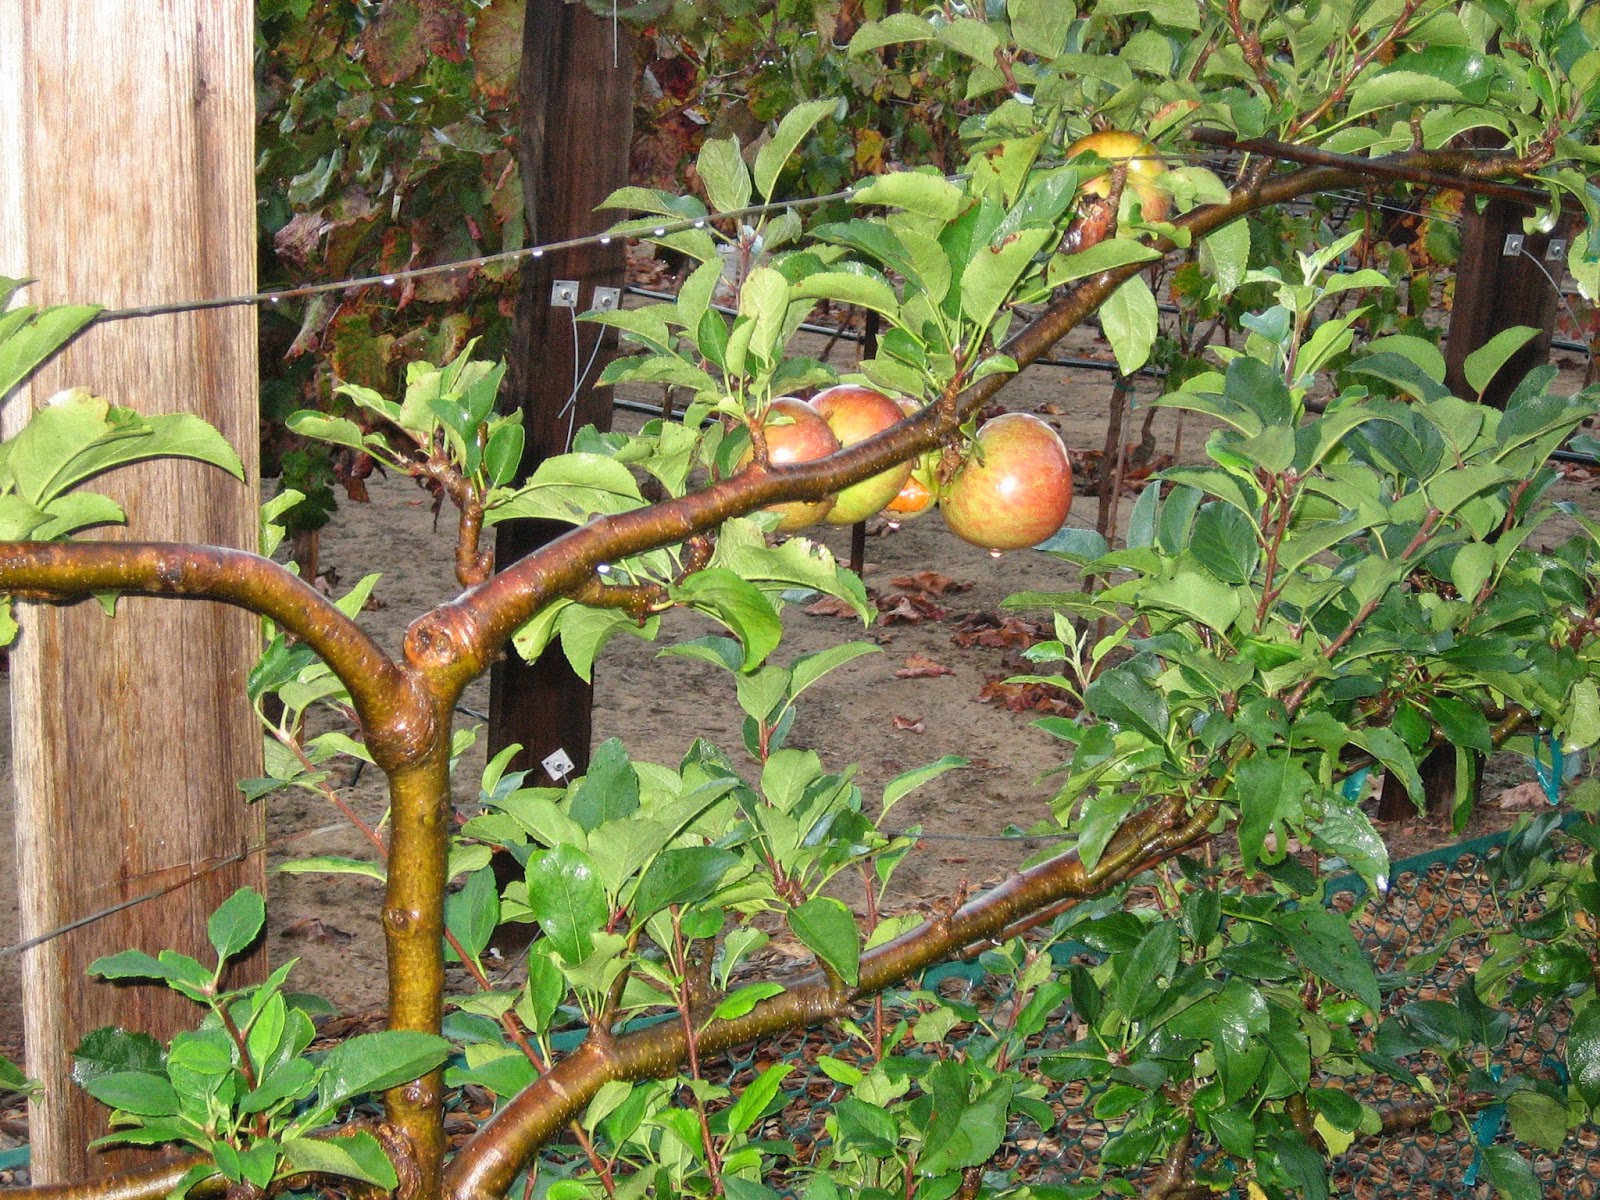
Training posts & wires on espaliers
For training wires for one set of our espaliered trees, my husband & I sank 4x4 posts in concrete on either side of the tree & used 14 gauge wire attached with eye-bolts between the posts. Turnbuckles attached to one end ensure that we can tighten the wire as it gives over time.
Choosing the Espaliered Form & Planting If you can imagine the espaliered form, you can probably train your tree into it. Formal shapes are most traditional, but informal shapes are also attractive and may not take as long to achieve.
In fall or early spring, plant a whip close enough to the framework to attach the lateral growth to the wires. A whip is a young vertical tree with no branches or side shoots. If possible, you'll want a pair of opposing buds at about the level of the first wire. Just above these two opposing buds, cut the whip at a 45-degree angle. Attach the whip to the bottom training wire with a soft tie, like
this one.
For an informal espalier, the branches of a young whippy tree may be trained flat against a trellis or training wires, unwanted outward growth can be removed.
Training progression of espalier
TrainingAbout 4-6 weeks after the first new growth appears, tie the side growth to the training wires. (Doing this too soon before the new growth has established slightly will cause it to break off.) The central vertical growth will become the new leader. Once the new leader reaches the 2nd wire, continue the process for the second tier.
Well, what do you think? Care to give it a try?! Be sure to tell me if you do.
Below, are some excellent articles on espalier from which you can find a wealth of helpful information, as questions are sure to arise as you work through the process.
Best of luck!
KeriVegetable Gardener - How to Grow Espalier Apple TreesFrench Gardening - The Fine Art of Espalier